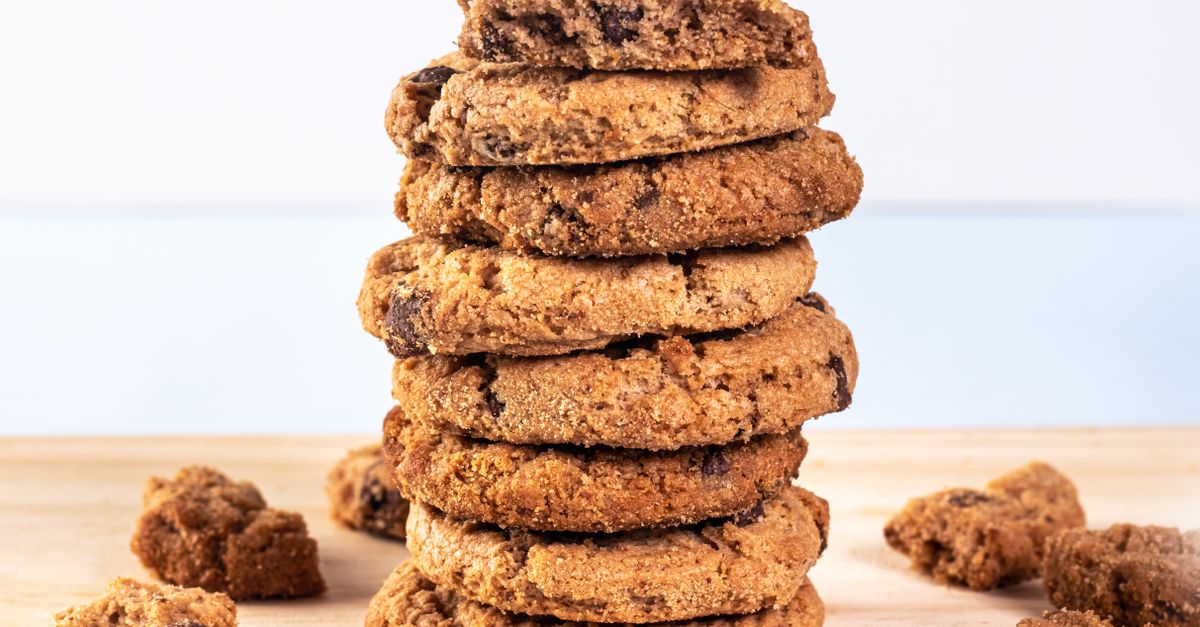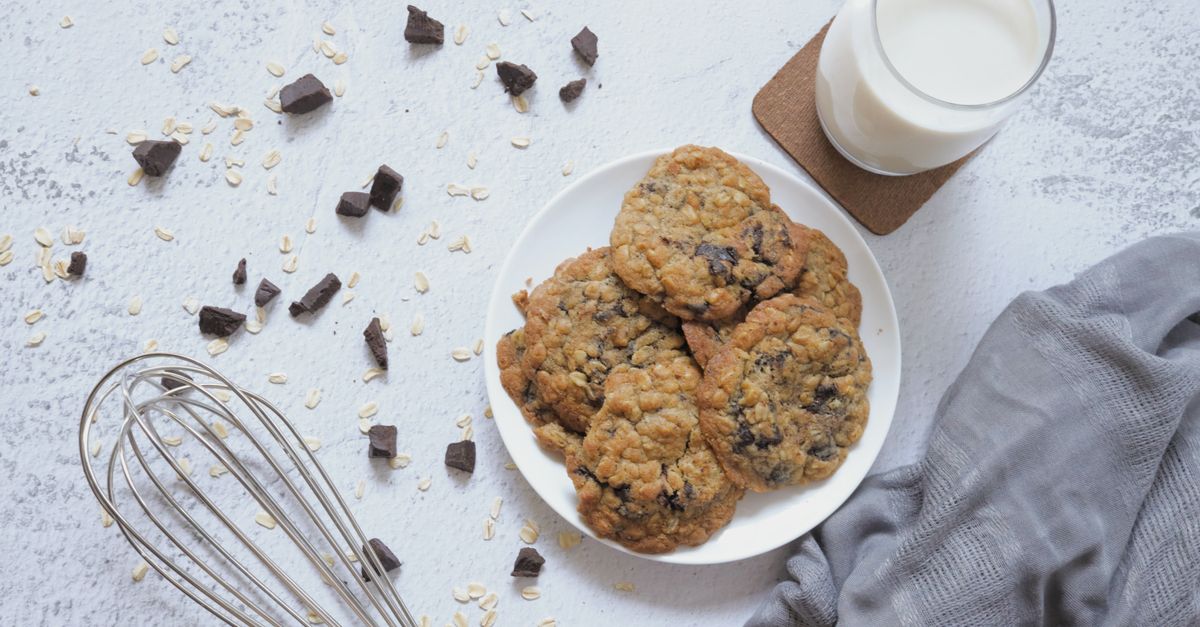
You’ve just pulled a fresh batch of cookies from the oven, heart pounding with anticipation. But instead of those beautifully puffy, chewy discs you envisioned, you’re greeted by thin, crispy, and decidedly flat disappointments. Sound familiar? I’ve been there more times than I care to admit. For years, I struggled to achieve that perfect balance of chewiness and lift, often ending up with cookies that looked more like sugary pancakes than bakery-worthy treats.
It’s a common frustration for home bakers, one that often leads to blaming the recipe or your oven. But in my experience, the culprit is rarely a single factor. More often, it’s a combination of subtle mistakes in technique and ingredient handling that conspire to spread your cookies into oblivion. What changed everything for me wasn’t a secret ingredient or a fancy new gadget, but a deeper understanding of the science behind cookie structure. Once I started paying attention to these overlooked details, my cookies transformed from flat discs to perfectly golden, plump, and utterly irresistible delights.
Key Takeaways
- Ensure your butter is softened, not melted, and your oven temperature is accurate to prevent premature spread.
- Avoid overmixing the dough after adding flour to maintain cookie structure and prevent toughness.
- Chill your cookie dough for at least 30 minutes to solidify fats and reduce spreading during baking.
- Use fresh, quality ingredients, especially leavening agents, and measure precisely for consistent, puffy results.
The Overlooked Power of Proper Butter Temperature
One of the most common, yet easily rectifiable, mistakes I see bakers make is with their butter temperature. Most recipes call for “softened” butter, but what does that really mean? For many, it translates to butter that’s practically melted, or at least very greasy to the touch. This is a critical error. Butter that is too soft or even slightly melted will lead to flat cookies, pure and simple.
Think of softened butter as tiny air pockets. When you cream butter and sugar together, you’re incorporating air into those pockets, creating a light, fluffy mixture. This aeration is the foundation of your cookie’s lift. If your butter is too warm, these air pockets collapse, and you lose that crucial initial volume. The fat also melts much faster in the oven, causing your cookies to spread rapidly before they have a chance to set.
In my kitchen, softened butter means it yields slightly to a gentle press, leaving a slight indent, but still holds its shape. It should feel cool, not greasy. If you’re short on time, don’t microwave your butter; instead, cut it into small cubes and let it sit on the counter for 15-20 minutes, or gently tap it with a rolling pin to warm it slightly. This seemingly minor detail has made a monumental difference in the puffiness and texture of my cookies. I’ve found that just a 5-degree difference in butter temperature can be the deciding factor between a beautifully domed cookie and a flat disaster. It’s truly that sensitive.
The Hidden Impact of Oven Temperature and Leavening Agents
Another silent saboteur of cookie structure is inaccurate oven temperature and stale leavening agents. Many home ovens run hot or cold, sometimes by as much as 50 degrees Fahrenheit. If your oven is too cool, your cookies will spread excessively before the dough sets, resulting in thin, crispy edges and a flat center. If it’s too hot, the edges will set too quickly, preventing proper spread and potentially leading to dry, crumbly cookies. I learned this the hard way after consistently getting inconsistent results despite following recipes to the letter. Investing in a simple oven thermometer – a cheap and essential tool – was a game-changer. I found my oven was routinely 25 degrees cooler than the dial indicated, leading to widespread disappointment.
Similarly, leavening agents like baking soda and baking powder are often overlooked. These ingredients are responsible for creating the carbon dioxide bubbles that give cookies their rise. However, they lose potency over time. An opened box of baking soda or baking powder sitting in your pantry for months, or even years, is practically useless. If your leavening agents aren’t fresh and active, your cookies simply won’t get the lift they need, no matter how perfectly you cream your butter.
To test if your baking soda is still active, mix 1/4 teaspoon with 2 tablespoons of vinegar. If it fizzes vigorously, it’s good to go. For baking powder, mix 1/4 teaspoon with 2 tablespoons of hot water; it should bubble. I now make it a rule to replace my leavening agents every 3-6 months, and the consistent puffiness of my cookies speaks for itself. This small investment ensures that the very engine of your cookie’s rise is always ready for action.
The Underrated Art of Proper Dough Handling and Chilling
Beyond ingredients, how you handle your dough and whether you chill it significantly impacts cookie height. Overmixing the dough, especially after adding the flour, develops gluten, which can lead to tough, dense cookies that don’t spread or puff properly. Once the flour is added, mix just until combined. I used to think more mixing meant more even distribution, but I’ve learned that less is definitely more here. As soon as you see no dry streaks of flour, stop the mixer. It’s better to have a few tiny streaks than an overmixed, glutenous dough.
But the real secret weapon for perfectly puffy cookies, in my opinion, is chilling the dough. This step is non-negotiable for me now, even if a recipe doesn’t explicitly call for it. Chilling does several things: it solidifies the butter, preventing it from melting too quickly when it hits the hot oven. This gives the cookie structure a chance to set before spreading too much. It also allows the flour to fully hydrate, leading to a more tender and flavorful cookie. Furthermore, chilling can intensify the flavors as the ingredients meld together over time.
My routine typically involves chilling the dough for at least 30 minutes, or even overnight for richer flavor and superior texture. For overnight chilling, I’ve found it helpful to portion the dough into balls first and then chill them on a baking sheet. This way, they’re ready to go straight from the fridge to the oven, eliminating any temptation to skip the chill. This simple act of patience consistently yields cookies that hold their shape, bake up thicker, and have a wonderfully chewy center.
The Deceptive Simplicity of Precise Measurement and Ingredient Quality
Finally, let’s talk about precise measurement and overall ingredient quality. It sounds basic, but it’s foundational. Baking is chemistry, and small deviations can have big consequences. Too much flour can make your cookies dry and crumbly, preventing proper spread and expansion. Too little flour can make them spread excessively thin. Too much sugar, especially white sugar, can also lead to thinner, crispier cookies because sugar melts and spreads more readily. Conversely, brown sugar, with its molasses content, introduces more moisture and acidity, often contributing to chewier, thicker cookies.
I’ve seen countless home bakers scoop flour directly from the bag with a measuring cup, compacting it significantly. This can add 20-30% more flour than intended! Always spoon flour into your measuring cup and then level it off with the back of a knife. Better yet, if you’re serious about baking, invest in a kitchen scale and measure by weight. It’s the most accurate method and dramatically reduces inconsistencies. I switched to weighing all my dry ingredients two years ago, and it has eliminated so many of my baking woes. My flour measurement is now consistently accurate, and my cookies are consistently perfect.
Beyond measurement, the quality of your ingredients matters. Using fresh, good-quality butter (I prefer unsalted for control), fresh eggs, and good vanilla extract can elevate your cookies. While it might seem like a minor detail, using an old, half-used bag of off-brand chocolate chips versus fresh, high-quality ones can subtly alter the dough’s behavior and the cookie’s final texture. These are the small, cumulative decisions that separate good cookies from truly outstanding ones. Pay attention to these details, and you’ll see a noticeable improvement in every batch.
Frequently Asked Questions
Q: My cookies are always flat even after chilling the dough. What else could be wrong?
A: Even with chilling, several factors can contribute to flat cookies. Double-check your oven temperature with an independent thermometer; many ovens are inaccurate. Ensure your butter is softened, not melted or too warm, before creaming. Also, verify that your baking soda and/or baking powder are fresh and active. Too much sugar, especially granulated sugar, or too little flour can also cause excessive spreading. Lastly, avoid placing dough on a hot baking sheet, as this will immediately melt the butter and cause premature spread.
Q: Can I use melted butter if I don’t have time to soften it?
A: While some specific cookie recipes are designed for melted butter (often yielding chewier, denser cookies), if a recipe calls for softened butter, using melted butter will almost certainly result in flat, greasy cookies. Melted butter doesn’t trap air when creamed with sugar, which is crucial for lift. It also causes the dough to spread much faster in the oven. It’s best to follow the recipe’s instructions for butter temperature.
Q: How long should I chill cookie dough for optimal results?
A: I recommend chilling cookie dough for at least 30 minutes. For truly superior results, chilling for 2-24 hours is ideal. This allows the butter to solidify completely, the flour to fully hydrate, and the flavors to deepen. If chilling for longer than a few hours, cover the dough tightly to prevent it from drying out.
Q: Why do my cookies spread unevenly?
A: Uneven spreading can often be attributed to an uneven oven temperature, hot spots in your oven, or placing dough balls too close together on the baking sheet. It can also happen if your baking sheets are not evenly heated or if you’re baking too many sheets at once, which can drop the oven temperature significantly. Rotate your baking sheets halfway through baking and ensure you’re not overcrowding the oven.
Q: Is it better to use baking soda or baking powder for puffy cookies?
A: The choice between baking soda and baking powder depends on the recipe and its acidic ingredients. Baking soda reacts with acids (like brown sugar, buttermilk, or lemon juice) to produce CO2, contributing to spread and browning. Baking powder is a complete leavener, meaning it has both an acid and a base, and often provides more consistent lift. Many recipes use a combination of both for optimal texture and rise. Always use what the recipe specifies, and ensure both are fresh.
Conclusion
Transforming your flat cookie woes into a consistent parade of perfectly puffy, chewy delights isn’t about magic; it’s about understanding the foundational elements of baking. From the subtle dance of butter temperature and fresh leavening agents to the patient art of dough chilling and precise measurement, each step plays a crucial role. Embrace these simple, yet profound, shifts in your baking routine, and you’ll quickly discover the secret to bakery-quality cookies right in your own kitchen. Don’t let another batch of flat cookies disappoint you – take control of your baking science, and prepare to be amazed. Your next batch is destined for perfection!